
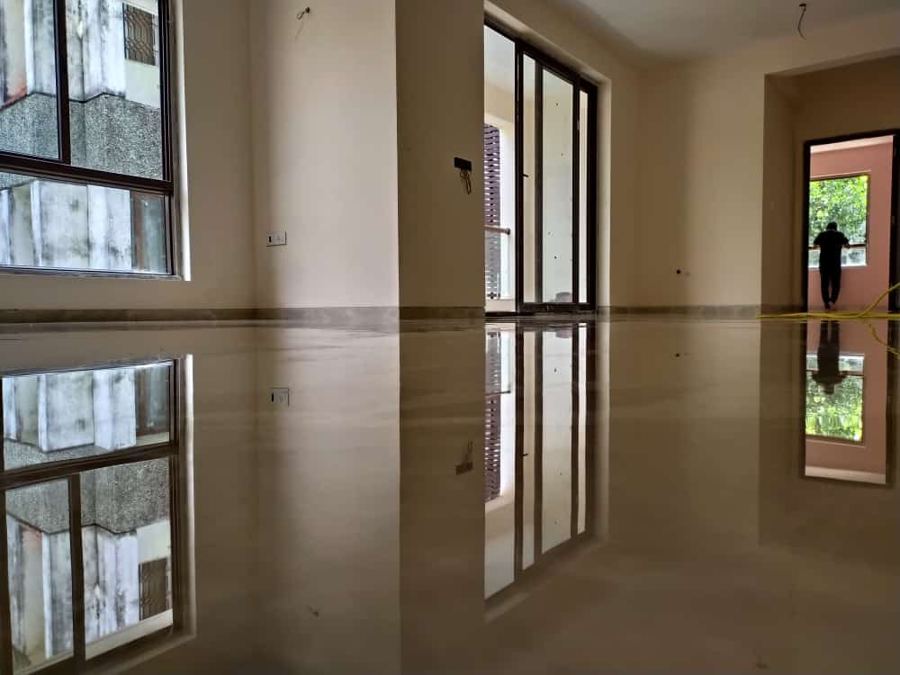
A marble floor looks its best on the day it is laid. Over months and years, foot traffic, sand, spills and the wrong cleaning products slowly take that shine away. The good news is that marble is a natural stone that can be restored again and again. Professional polishing does not add a coating on top; it works the stone itself until the surface reflects light evenly once more.
At Onyx Stones we follow the same five steps on every polishing job in Mohali and across Punjab. Here is what each step does and why the order matters.
1. Floor scrubbing
Every job starts with a deep clean. Scrubbing removes the dust, grease and loose dirt that sit on top of the stone. If this layer is left behind, it gets dragged around by the polishing pads and causes new scratches. A clean surface also lets us see the real condition of the marble: where the scratches are, which areas are stained and where the stone has worn unevenly.
2. Grinding
Grinding takes off a very thin top layer of the marble using graded pads, starting coarse and moving to finer grades. This is the step that removes scratches, light etching and uneven wear. On floors with deep scratches or lippage between slabs, grinding with diamond pads also helps level the surface so the final shine looks even from every angle.
3. Deep polishing
Once the surface is level and smooth, finer pads and specialist polishing machines bring up the shine. Each pass refines the scratches left by the previous one until they are too fine for the eye to see. This is what gives polished marble its depth: light is reflected from a truly smooth stone surface rather than from a layer of wax.
4. Stain removal and floor polishing
Marble is porous, so spilled tea, coffee, oil or acidic liquids can leave marks and dull patches. In this step we treat remaining stains and water marks and polish those areas so they match the rest of the floor. We use 3M cleaning and polishing products, chosen to suit the type of stone being worked on.
5. Buffing
The last step is buffing with special pads. Buffing raises the gloss, evens out the finish across the whole floor and leaves a smooth surface that is easy to clean. After buffing, the floor is ready to use.
Indian marble and Italian marble need different care
Italian marble is usually softer and more delicate than most Indian marble. It scratches more easily and can be damaged by an aggressive process. For Italian marble we use a gentler, stone-specific approach that brings out its depth and colour without harming the surface. If you are not sure which stone you have, we will check it during the site visit.
How to keep the shine after polishing
- Use a pH-neutral cleaner. Vinegar, lemon and harsh bathroom cleaners are acidic and etch marble, leaving dull spots.
- Wipe spills quickly, especially tea, coffee, juice and oil, before they soak into the stone.
- Put mats at entrances. Sand and grit carried in on shoes act like sandpaper on a polished floor.
- Add felt pads under furniture legs so chairs and tables do not scratch the surface when moved.
- Dust-mop regularly instead of only wet-mopping, so grit does not build up.
When does a floor need polishing again?
There is no fixed timetable; it depends on how much foot traffic the floor gets and how it is cleaned. Homes usually need it less often than offices, shops and showrooms. A good sign that it is time is when the floor looks dull even right after cleaning, or when scratches and water marks are visible in normal light.
Book a site visit
If your marble has lost its shine, we can inspect it and share a clear quote before any work starts. Call or WhatsApp us on +91 78000 64168. We are open Monday to Sunday, 9 AM to 10 PM.