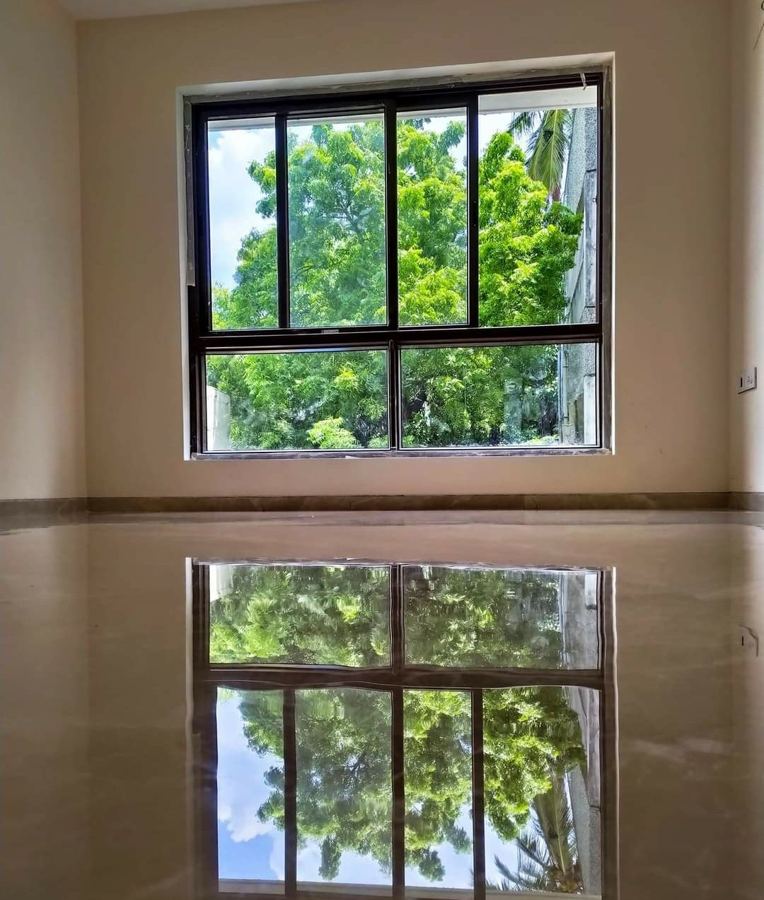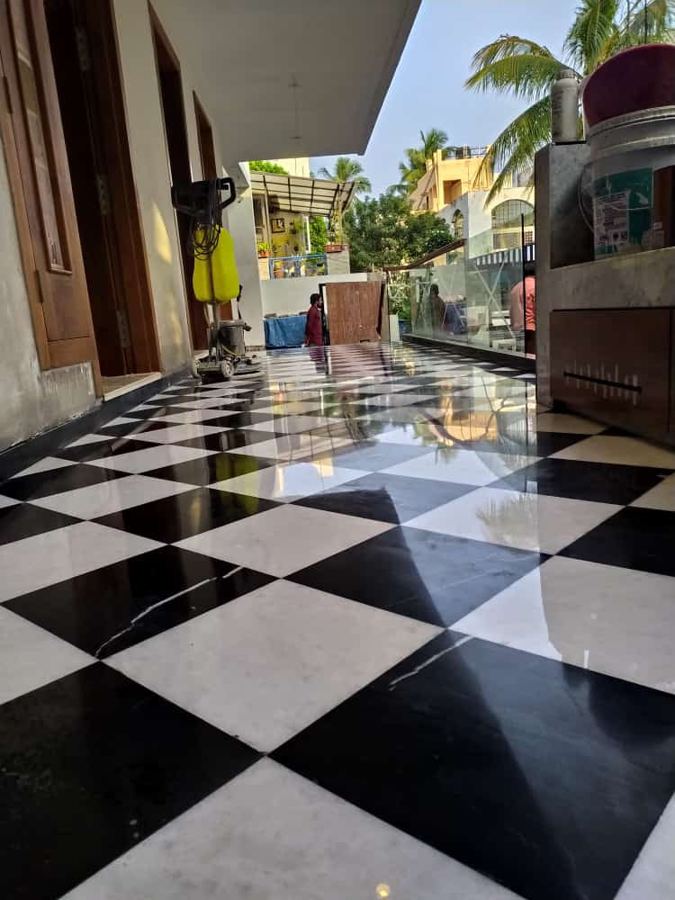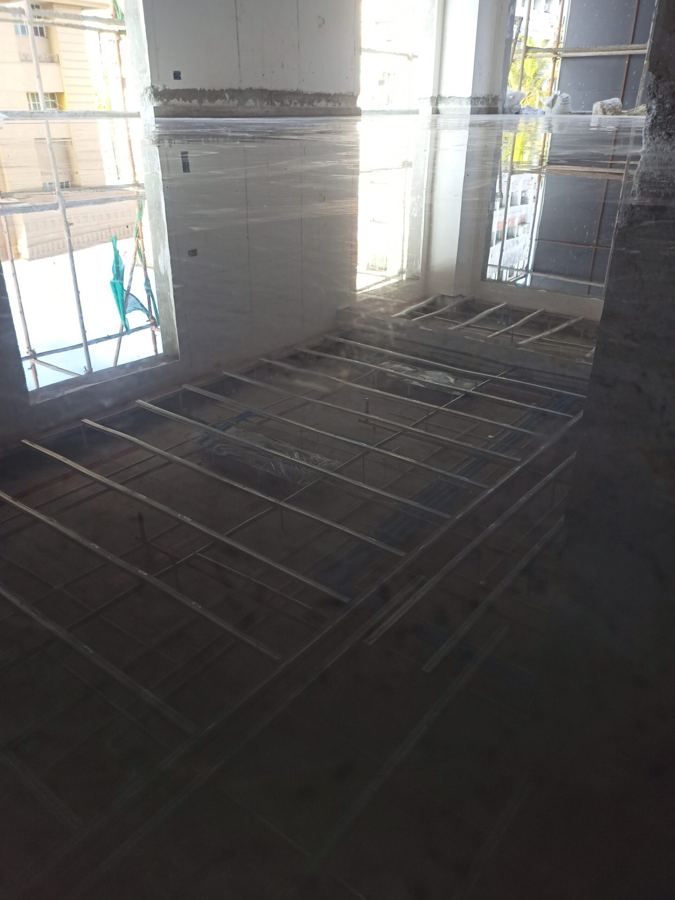
A marble polishing job goes faster, cleaner and gives a better finish when the home is ready for it. Most of the preparation is simple, and much of it can be done the evening before. This checklist explains what to do before, during and after the work, so your floor in Mohali or anywhere in Punjab comes out with an even, lasting shine.
Why preparation matters
Polishing is done with heavy machines that move slowly across the whole floor. Grinding and polishing usually use water, and the stone dust mixes with it into a fine slurry. If furniture is in the way, the machine cannot reach corners and edges evenly, and those patches end up duller than the rest of the room. If walls, skirting and doors are not protected, slurry splashes have to be cleaned off later. A little planning avoids both problems.
1. Agree on the scope during the site visit
- Show every area you want done: rooms, passages, stairs, balconies and any wall cladding. It is easier to plan the order of work when everything is known in advance.
- Point out problem spots: deep scratches, cracked or hollow-sounding pieces, old stains, water marks and dull patches. Some of these need extra attention, such as diamond grinding or filling, before the main polish.
- Mention the type of stone if you know it. Italian marble is softer than most Indian marble and needs a gentler process. If you are not sure, it will be checked on site.
- Ask about the order of rooms, so you can keep at least one room or floor usable while the rest is being worked on.
2. Clear the rooms
The single most helpful thing you can do is empty the floor. Move sofas, beds, tables, chairs, rugs, plants and shoe racks out of the rooms being polished. Heavy wardrobes and built-in units can stay, but clear the floor in front of them.
- Lift furniture, do not drag it. Dragging a loaded cupboard across marble is one of the most common causes of deep scratches.
- Take small items off low shelves and away from the floor: chargers, extension boards, toys, footwear and decorative pieces.
- Roll up carpets and mats and keep them in a room that is not being polished.
3. Protect walls, doors and fittings
- Skirting and the lower part of walls can be covered with plastic sheet and masking tape, especially where the walls are freshly painted or wallpapered.
- Wooden door frames and the bottom of doors absorb water easily. Cover them, or keep doors open and wedged so they do not swing into the machine.
- Floor-level electrical sockets should be switched off and covered, because the floor will be wet during grinding.
- Built-in furniture with a plinth, such as kitchen bases and wardrobes, benefits from a strip of tape along the bottom edge.
4. Power and water
Polishing machines need a reliable power point close to the work area, and the process needs a nearby water source for wet grinding and cleaning. Check that the sockets you plan to use are working, and tell the team if your supply has a low load limit or if there are regular power cuts in your area, so the work can be planned around them. Keep a drain or bathroom accessible for clearing slurry water.
5. Plan for family, pets and neighbours
- Machines are noisy. If someone at home works from home, studies or rests during the day, plan for them to use a room that is not being polished.
- Keep children and pets away from the wet floor and the machines. Marble is slippery when wet, and paw prints on a fresh polish are hard to avoid otherwise.
- In flats and societies, let neighbours or the society office know, and check any rules about working hours or lift use for equipment.
6. Ventilation and dust
Wet polishing keeps dust low, but some fine dust and moisture are normal. Open windows where you can and switch off ceiling fans in the room being worked on, so dust is not blown onto a drying surface. Cover kitchen counters, TV units and anything that is hard to wipe down.
7. After the polishing
How you treat the floor in the first days decides how long the shine lasts.
- Let the floor dry fully before walking on it heavily or bringing furniture back. Ask the team how long to wait for your floor and any sealer used.
- Put felt pads under furniture legs before moving pieces back, and again lift rather than drag.
- Place doormats at every entrance. Sand and grit carried in on shoes act like sandpaper, and in Punjab's dusty months this makes a big difference.
- Clean with a pH-neutral cleaner or plain water. Avoid acid-based bathroom and tile cleaners, vinegar and lemon, which etch marble and leave dull spots.
- Wipe spills quickly, especially tea, oil and turmeric. If a mark does appear, our guide on removing stains from marble explains safe ways to treat it.
A quick checklist
- Site visit done and all areas and problem spots agreed.
- Rooms emptied; carpets rolled up; small items cleared.
- Skirting, door bottoms and floor sockets covered.
- Working power point and water source near the work area.
- Children, pets and neighbours planned for.
- Doormats and felt pads ready for when the work is finished.
If you want to know what actually happens to the stone during the job, read our five-step marble polishing process, or see finished floors in the gallery.
Book a site visit
Planning to polish your marble floors? We will inspect the stone, agree the areas with you and share a clear quote before any work starts. Call or WhatsApp us on +91 78000 64168, or send an enquiry. We are open Monday to Sunday, 9 AM to 10 PM.